Educard DOCUMENT
Completion requirements
Initial Settings
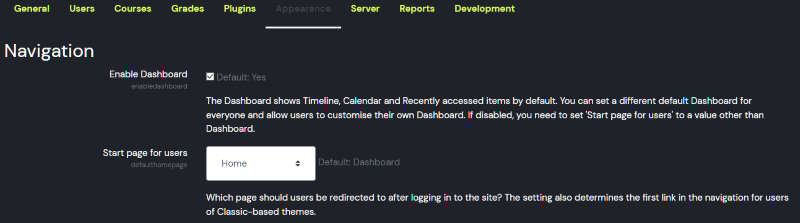
Before starting Educard settings, we need to make some settings on Moodle.
Site administration > Appearance > Navigation > For users, select Home on the start page.
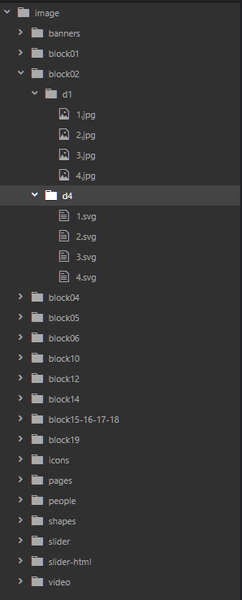
Copy the image folder you downloaded from the given link (link.txt) to the hosting root directory.
Examine the folder structure shown in the picture.
There is a separate folder for each block and numbered pictures inside the folder. If you do not upload images from the theme to the blocks that need to be uploaded,
you can enter the image folder path in the 'Front page img link' field in the front page settings.

When you do this, educard automatically takes the picture it needs from the relevant block folder according to the design number. If you want to change the block images, copy them over the existing images (like copy image.jpg to 1.jpg). Pay attention to the image extensions, if the extension is svg, replace svg with png if the extension is png, and if the extension is jpg, replace it with jpg. If you change it to a different extension, the image will not be displayed.
! WARNING :
If you upload a picture from the block settings to the block that needs a picture, if there are different designs in that block, the same picture will be displayed in all designs. If you do not want to change the picture again according to the design when you change the designs of the blocks, use the image folder. Upload different images for the designs of a block so that when the design changes, the images will change.
If you use the Image folder, the image you uploaded for the design will be retrieved.
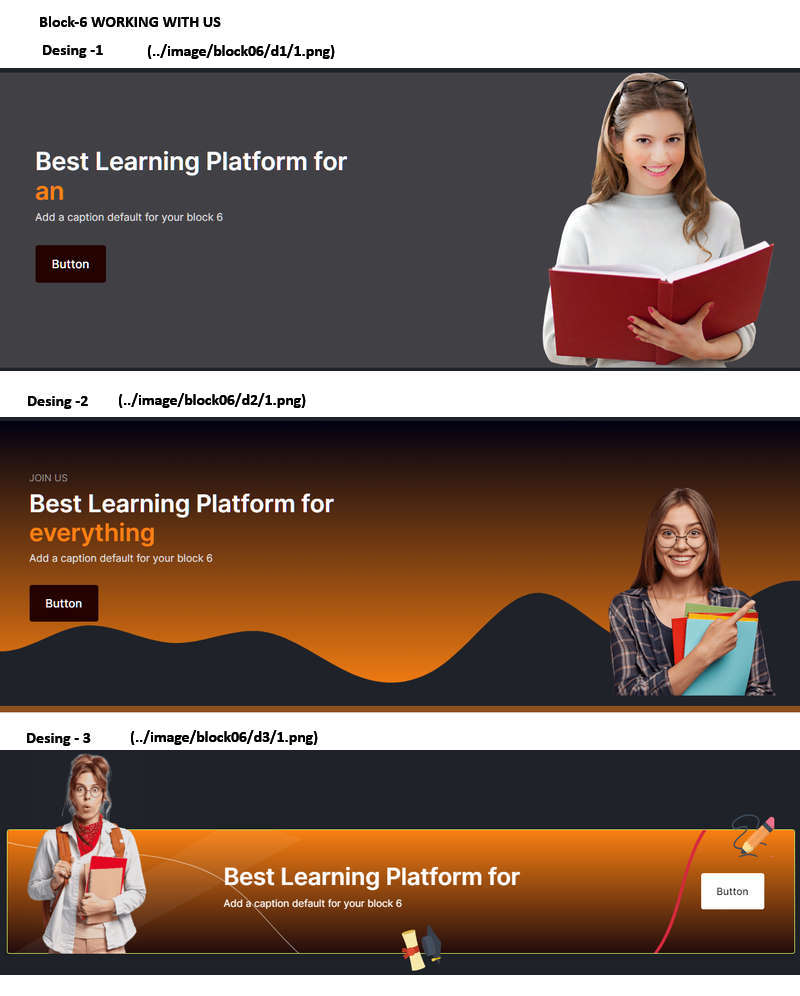
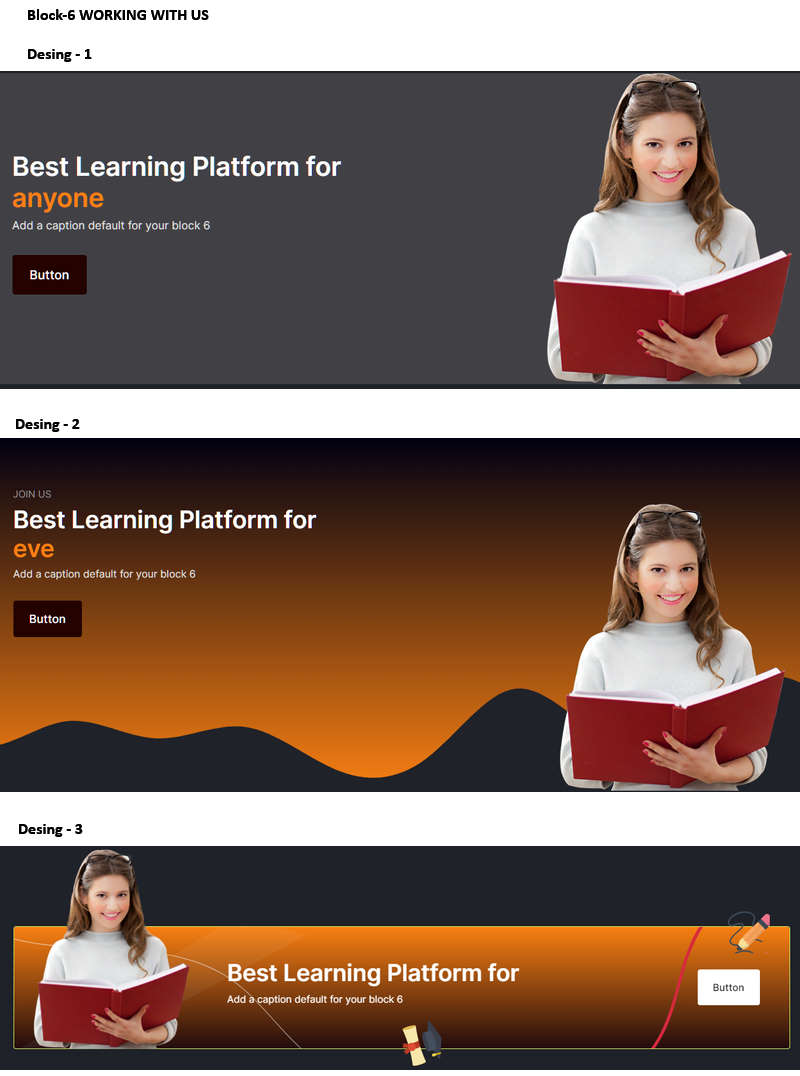
Image 1 (../image/block06/d1/1.png)
Image 2 (../image/block06/d2/1.png)
Image 3 (../image/block06/d3/1.png)
Image 1 (../image/block06/d1/1.png)
Image 2 (../image/block06/d2/1.png)
Image 3 (../image/block06/d3/1.png)
If you have uploaded a picture from the block settings, all designs will come with the same picture.
Pictures SiteAdministration/Appearance/
Educard/Block/Block-6 WORKING WITH US
Block image
Pictures SiteAdministration/Appearance/
Educard/Block/Block-6 WORKING WITH US
Block image